
The steps described below are the same in each request type.
As soon as you have clicked on "Create request" after selecting the contracts (see step 1), you will be shown an empty input form for the header data of the request to fill out.

The "Header Data" tab is divided into 4 sections, the fields and functions of which are described below:
Section General
Request number
The transaction automatically receives a request number according to its configured number generator or the field remains empty if your company works without an automatic generation. In last case, an internal reference number of your company organization should usually be entered manually. This can be, for example, the submission number from the SAP system.
If an automatic generation is set up for your company organizational, the number will be automatically inserted into the field when you move to the next step "Items". In this case, you will see a respective information in the corresponding field:

Maintain the available fields, such as a meaningful title. The technical and commercial contact persons are displayed to the suppliers in the invitation e-mail, along with other information. If your internal contact persons have maintained their contact details, such as the telephone number, then these information will also be mentioned in the invitation.
The submission deadline is a mandatory field. Maintain it with a date and time.
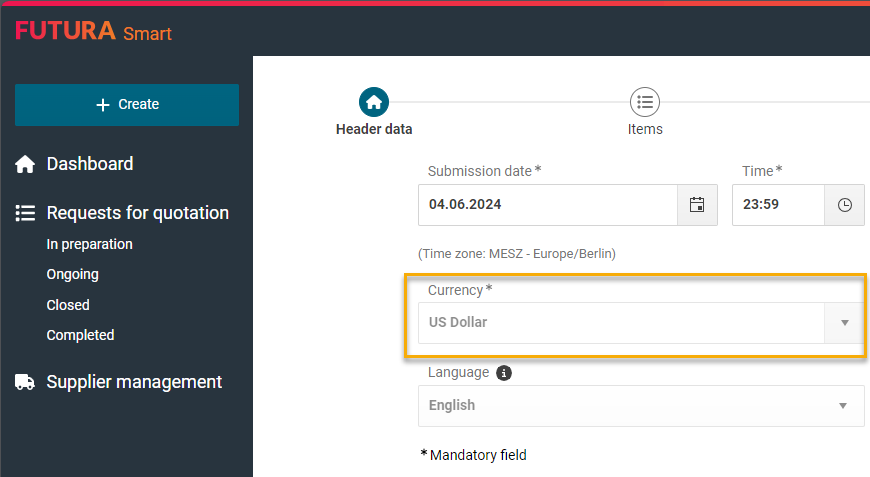
Determine which currency is to be used exclusively for the entire transaction. All items you create will then have this currency preselected.
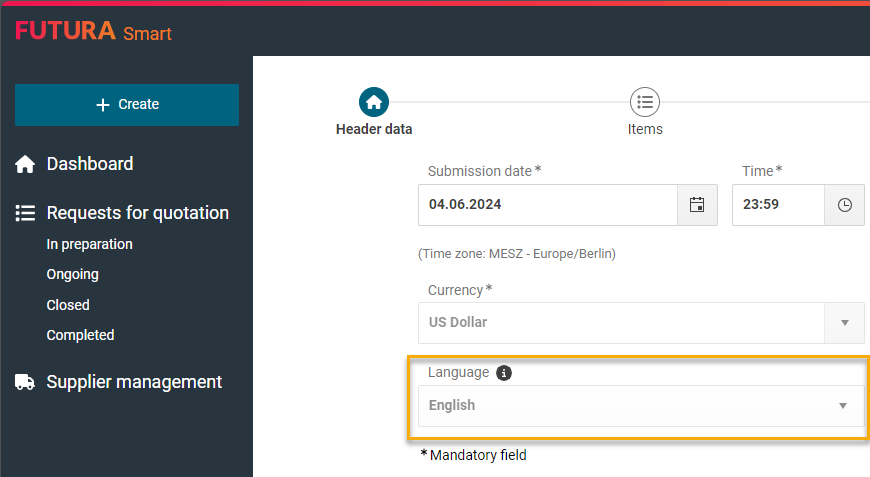
Define as well the language of the master data. The language determines the display of the base units used in the request, which are displayed in this form to your suppliers in the item list. Defined base units from the SAP master data of the German language, such as ST (Stück), are automatically translated into the English equivalent PC (Pieces).
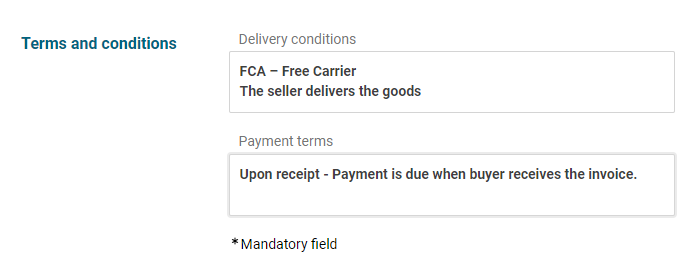
Terms and Conditions section
In the "Terms and Conditions" section, you can optionally define the delivery conditions and payment terms for your suppliers.
Settings section
Set the option "Quotation must be fully priced." if you require suppliers to provide a fully priced item list. In this case, the suppliers can only send the quotation if your requested item list has been completely filled out with prices.

If the option "CO2 emission value (kg)" is activated for your RFQ, the supplier can also specify a CO2 value for each item in his quotation. When evaluating the prices in the price comparison list, you will also see and compare the CO2 emission values from the submitted quotations. In a quotation copy, which you create in the price comparison list, these values can still be adjusted afterwards.

The function described below must be activated by FUTURA Solutions. If you would like to use the "Easy Access" function, please let us know via your administrator. You can get more information via the following link: 'Easy Access' for suppliers
The “Easy Access” function is an alternative and faster way for your supplier companies to gain direct access to their account and to RFQs. By using this function in RFQs, newly created suppliers receive a “Magic Link” in the invitation when a RFQ is published. This link forwards them directly to their account with the content of the RFQ. The registration process is skipped this way. The suppliers are given immediate access to the RFQ and can start preparing the quotation right away.
If you do not use this option for your RFQ, the standardized process for newly created suppliers will be applied. In this case, they will be sent a second e-mail containing the link to the registration process for suppliers in addition to the invitation to the RFQ.

Note:
The use of the function can be restricted with a specific threshold for your organization. In this case, you will see an additional information next to the option:
Example:

Note:
Once you have published a RFQ, the option can no longer be set afterwards.
Attachments section
Global documents
In this section, it may be the case that you will already find documents without having uploaded them by yourself. These are global documents, that were automatically attached to the transaction and uploaded before on administrative side. They can have as a mandatory target to displaying them in all published RFQs by your company, specially when theses documents are additionally marked as to be confirmed in terms of content by participating suppliers. You can still take them out of your actual RFQ by deleting them with the trash can button, if they are not needed. It is however recommended that you first clarify this internally before deleting them.
Via the following page, you can find out how global documents are managed in FUTURA Smart. To view this in FUTURA Smart, you will need administrative permissions: Managing global documents
Select and drop files
In the lower area of the header data, you have the option of adding relevant attachments to the request. Use Select Files to access your pc drive and add files for uploading. You can select and open multiple files from the destination folder or drag and drop them into the upload area.

Maximum size of attachments and permitted file types for upload in the request
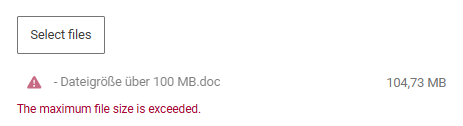
For uploads, you can use files with a maximum size of 100 MB per file. You can also upload multiple files up to this maximum size. The maximum total size is also defined on the supplier side.
If your file exceeds the maximum size, you will receive a corresponding notification.
If your company uses FUTURA Smart with SAP integration, please note that SAP also has a default archiving limit of 100 MB per file.
You can find the permitted file types here: Accepted file types for upload
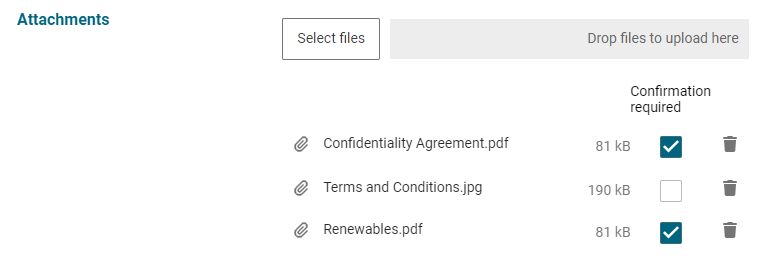
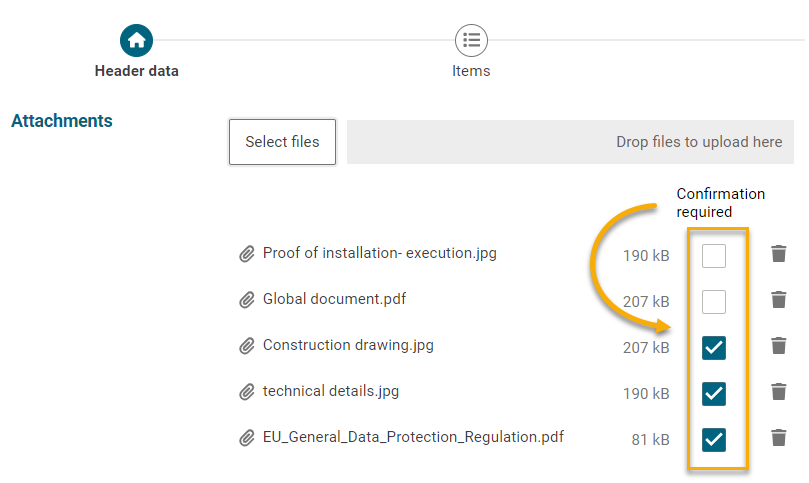
Declaring attachments as subject to confirmation
In the lower area of the header data, you have the option of adding relevant attachments to the request. Mark documents as subject to confirmation if required. As a result, all participating companies must first confirm these documents first before the full request can be viewed.
With the button "Next" at the bottom right, save your data and switch to the next step "Items".
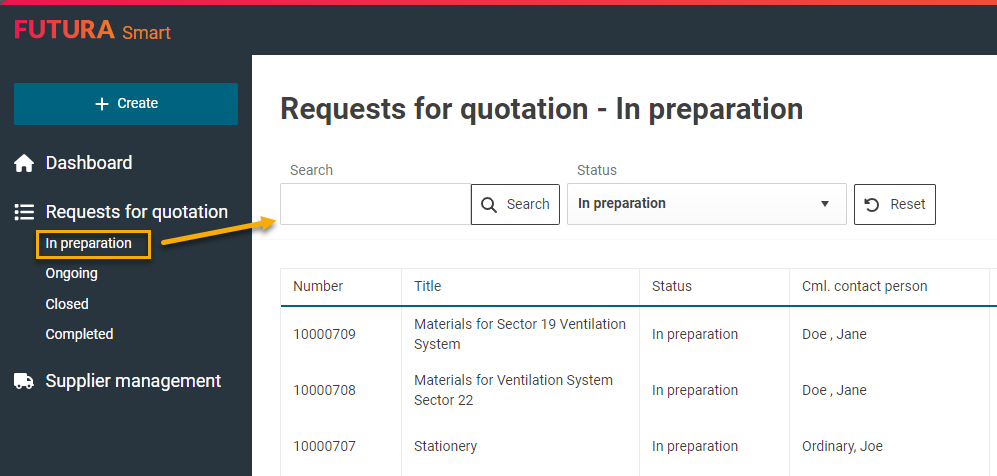
Transactions (e.g. RFQs) are created in FUTURA Smart as soon as you move from the tab Cover sheet to the next step by clicking the “Next” button after filling in all mandatory fields. No additional saving via a button is required, and the process will receive the status “In Preparation.”
From that point on, these transactions can be found under the list “In Preparation” in the left navigation menu. In these overview lists, transactions with this status can still be completely deleted by clicking the three-dot button to the right of the desired transaction and then selecting Delete (also see Deleting transactions)
By clicking the Cancel button during the creation process of a transaction without proceeding to the next step via the “Next” button, the transaction will already be fully deleted at this stage.
Click here for step 3: