
Foreword on the combination of GAEB and Item Hierarchies in SAP
With the use of SAP integration and S/4HANA, the function "Lean Services" can be used. This is helpful to represent structured item lists, specially for service items.
The structured item list is also taken into account for purchase orders and contracts in SAP. This allows you to create your structured item list with the hierarchy numbers automatically generated from SAP and all other information, including the quotation prices of your suppliers. For more information about this function, please click here: Item hierarchies from SAP
Create a structured item list
Create or open an existing free text request and call up the "Items" tab.
You can find out how to create a free text request or find an existing one via the following links:
Creating a free text request / Displaying and opening the request lists
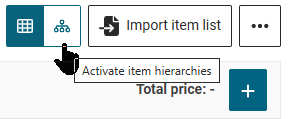
In the Items tab, select the Enable Title Structure function in the button bar.
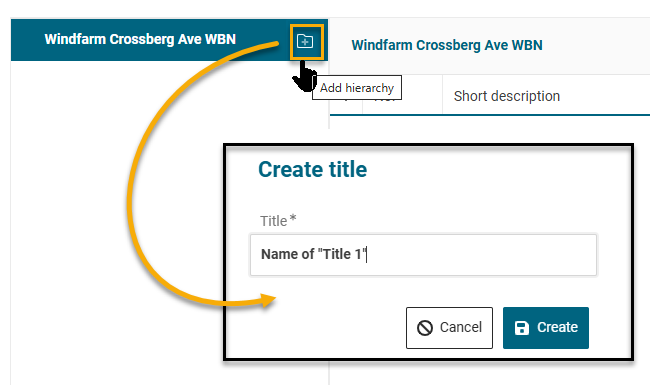
On the left-hand editing page, you then have the possibility of structuring your item list with up to 4 titles and items. Create the first title by clicking on the folder icon. Insert a name for the title and click Create.
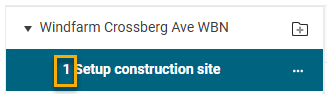
All other titles that you create via the folder icon as described above will be created on the same (top) level and numbered accordingly with 2, 3, 4, etc.
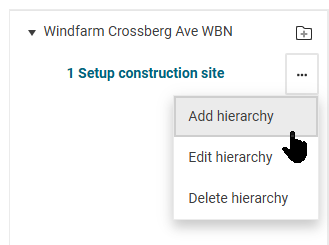
You can create additional subtitles (title 2 = hierarchy level 2) for an existing title. Up to four levels of structure (Titles 1 to 4) are possible. To create a subtitle, select the 3-dot buttons on the right side of the selected title and choose the option Add hierarchy.
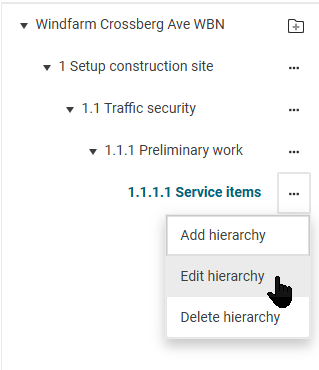
To revise an existing title, choose Edit hierarchy from the context menu.
To delete an existing title, choose Delete hierarchy from the context menu.
Note:
The Delete hierarchy option deletes al titles, including all subtitles and items that are created under these hierarchy levels..

Once you have reached your desired hierarchy level, create your items using the plus icon on the right.
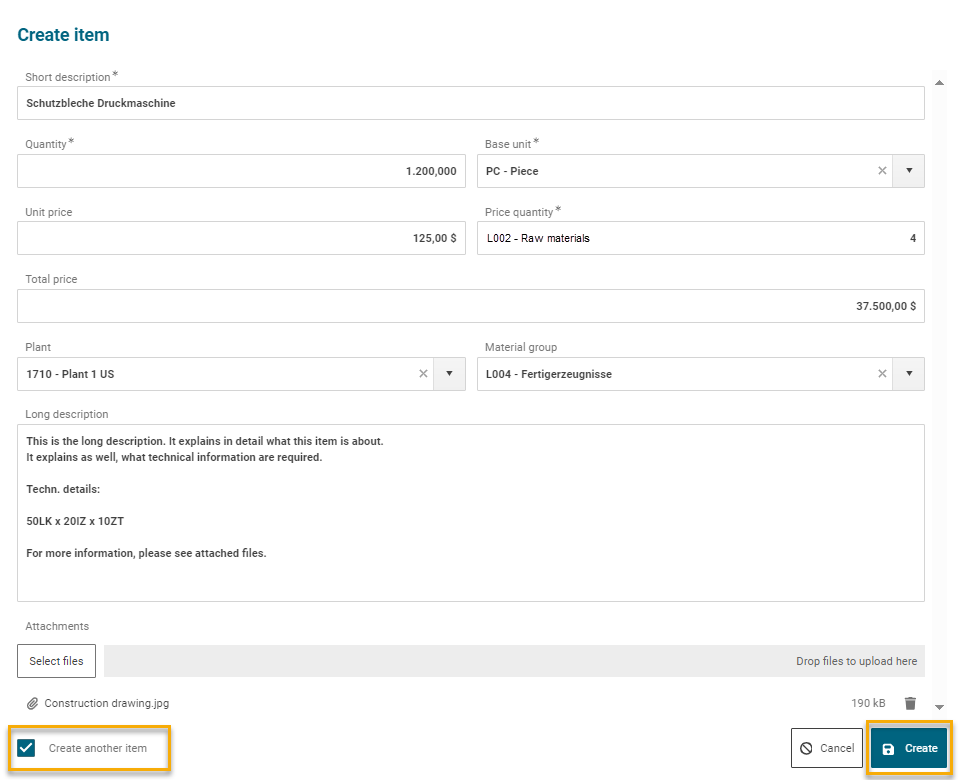
The details window for creating a free text item will open. Here you can enter all information of the item:
-
Enter the short description, the quantity, the base unit and the price quantity (mandatory fields)
-
If necessary, you can enter a long description. Type in the text in the "Long text" editor field.
-
Add attachments to your item that are specifically related to it.
The unit price and the resulting total price (quantity × price) serve solely as a calculation basis for your evaluation in the price comparison. These prices are not visible to suppliers during the offer preparation.
Select the option "Create another item" in the lower area of the dialog window, if you plan to create further free text items. After saving (button “Create”), a new dialog window automatically opens for creating another free text item.
If you have finished creating free text items, click on the button "Create". This will take you back to the overview of the item list and you will see your completed free text items.
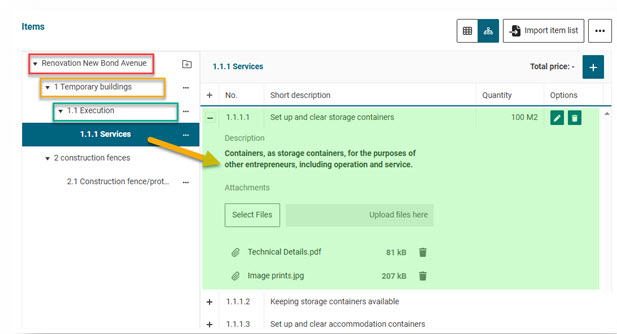
Below the respective last title level, the positions are displayed. With the plus button you can open the details of the items and view the further information, as well as any additional attachments.
Creating Note Items
A Note Item is used exclusively for information or explanation within the item list. This allows you to place additional information exactly where it is most relevant to the supplier.
Note items can be created at three different hierarchies within the item list:
-
At the top of the item list
-
At title level
-
Within items level
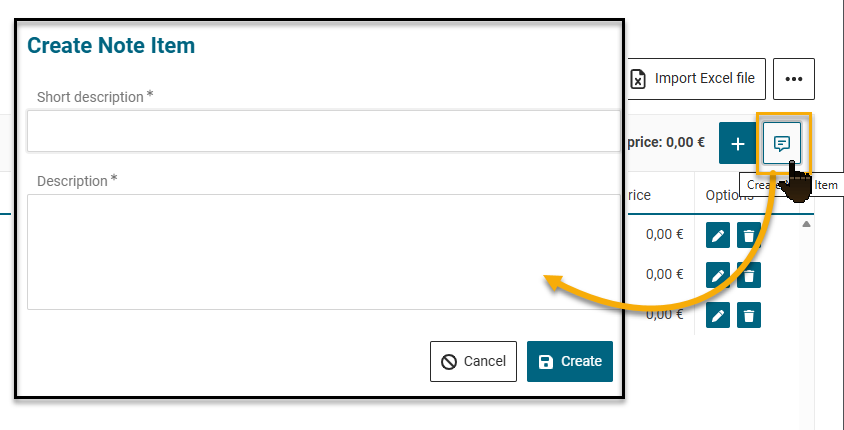
You can use the speech bubble button to create a note item. Two input fields are available here:
-
Short description:
A short, concise name of the note, which is displayed in the overview. -
Description:
The detailed description text (long text) in which the actual information or explanation is stored.
Explanation of the item types and their definitions in detail
In an item list, various item types can be used to provide a clear and structured layout.
Each item type serves a specific purpose and determines how the respective item is handled, displayed, and calculated within the list.
The available item types are explained below:
Standard Item – The default selection for an item. It is included in the item list with its quantity and price as part of the normal calculation.
Basic Item – A main item that serves as a reference or basis. One or more alternative items can be linked to it. In the list, it is marked with a specific symbol.
Alternative Item – An item created as an alternative to a base item. It is always linked to its corresponding base item and automatically assigned a price of 0.00. It is also marked with a symbol in the list.
Contingent Item – A potential but not firmly calculated item. It is also listed with a value of 0.00 and is not included in the total calculation.
Note Item – An item used solely for informational or explanatory purposes. It contains no quantity or price and is therefore not included in the total calculation. Note items can be used, for example, to provide additional technical information, execution conditions, or other explanatory texts within the item list.
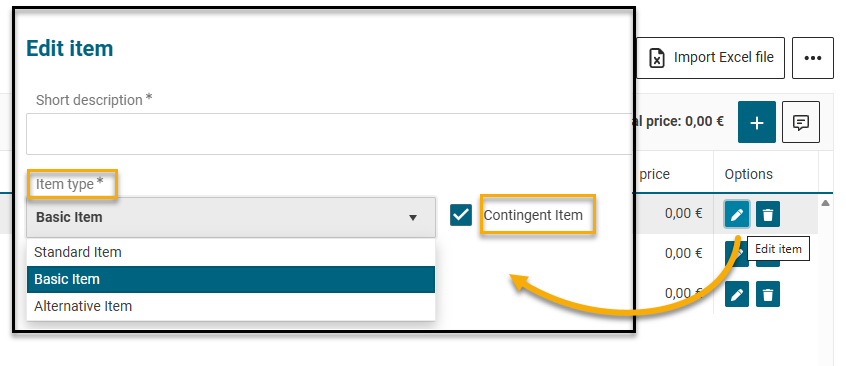
If an item is not a standard item, you can change the item type accordingly.
When importing GAEB files, these item types are automatically recognized and correctly assigned.
This allows you to subsequently convert existing items, such as those imported from a GAEB file into another item type if necessary.
To do this, open the item details using the edit (pencil) button on the right-hand side of the item list.
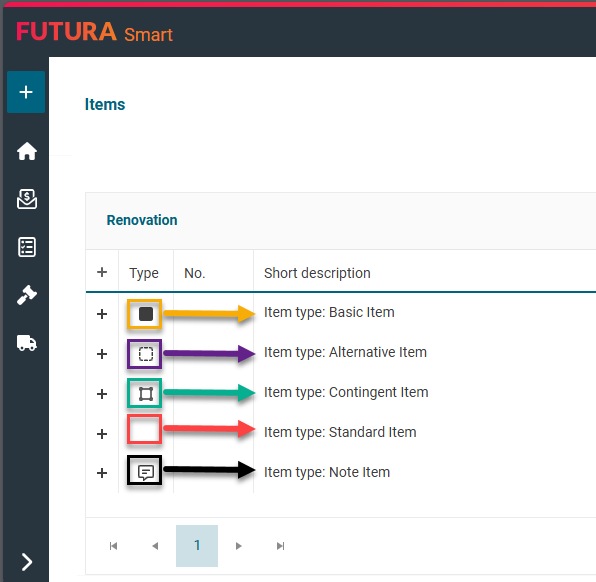
The differentiated item types are displayed with symbols in the overview of the item list:
Download an import template and import of several free text items
To create free text items, you also have the possibility of creating them using an import template. You can do your calculation in it and import the final result into FUTURA Smart. You can also use this to create your item list in a structured way and with title levels.
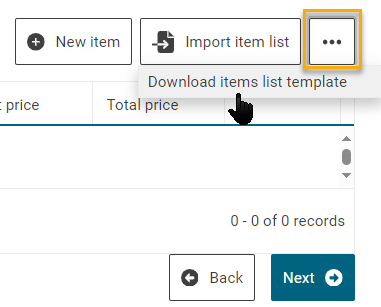
The import template is always available for download on the “Items” tab. You can also download it from here:
FSmart_import template for items.xlsx
Note on structuring the item list in the Excel import template
The structuring of titles in the Excel import template is identical to the manual creation of a structured item list in the application.
This means:
-
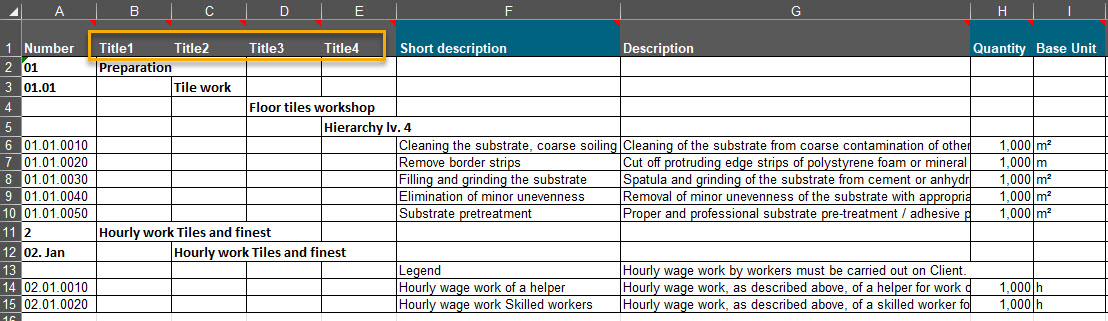
Titles 1 to 4 must be created in stages, each on its own line and one below the other.
-
Each outline level (titles 1, 2, 3, 4) is given a separate line.
-
The services are only recorded below the last desired title (maximum title 4), each in a new line.
Note:
The items must not be created at the same row level as titles. The structured item list can only be processed correctly during import, if the titles are structured correctly in stages and the items are separated.
In the row of a service, all performance-related information must be maintained at the same level. This applies to the following information:
-
Short description (mandatory)
-
Description (long text, optional)
-
Material number (if available, optional)
-
Quantity (mandatory)
-
Unit of measure (mandatory)
-
Unit Price (used as calculation price, optional)
-
Price Quantity (If maintained, optional)
-
Plant (if predefined, optional)
-
Material group (if predefined, optional)
The import file contains additional information as a note on the column options, as well as an example of how the item list should be structured. Fill it out with the mandatory criteria...
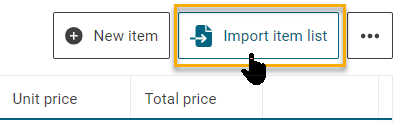
… and then import them into your request using the Import Item List button and function.
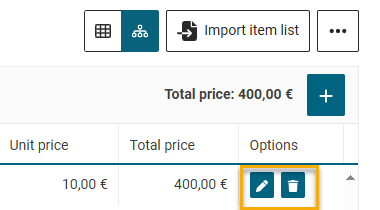
After the import, you can delete or edit individual items from the item list in the right area of the list. To do this, click on the garbage can button or on the pencil button.